Installing the End User Interface
The End User Interface setup does all of the following:
Installs the End
User Interface program files
Creates a virtual
directory in IIS and configures IIS authentication
Configures End User
Interface with the HP CR server location, and the mail system identity
and location
If you have used HP CR End User Interface before, you must
keep the deprecated client application and set up files in your system
as deleting those files may interfere with the server usage.
Log on to the system where
End User Interface is being installed using an account that belongs
to the local Administrators group.
Navigate to a network folder
containing the setup files and run setup.exe.
TIP: The End User Interface
setup is installed with a complete HP CR server installation in \Program Files\HP\HPCR\Clients\Web. Immediately
following the HP CR server installation, only the HP CR service account
has permissions to access client setup programs on the HP CR server, but
additional users can granted permissions if necessary.
The InstallShield
wizard configures your system and shows the Welcome
message.
Note: If Microsoft .NET
Framework v4.0 is not installed on your system, the HP CR End User Interface
installation kit will direct you to the location from where you can download
the package. After you have installed the package, you can proceed with
the HP CR End User Interface installation.
Click Next.
The setup shows the destination folder.
Change the destination folder
if necessary by clicking Change
and then following the prompts. Click Next.
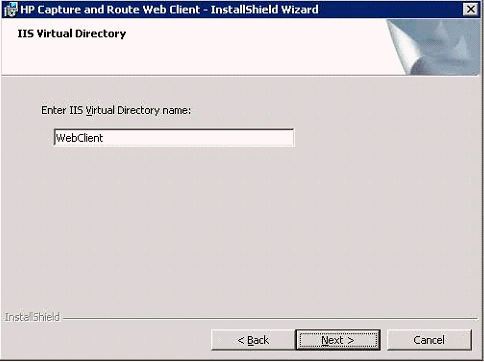
The setup shows the IIS Virtual Directory name for the End User Interface.

Change the virtual directory
name if necessary. The default is WebClient.
Click Next.
Note: The virtual directory
name is used to create a virtual directory in IIS under Default Web Site.
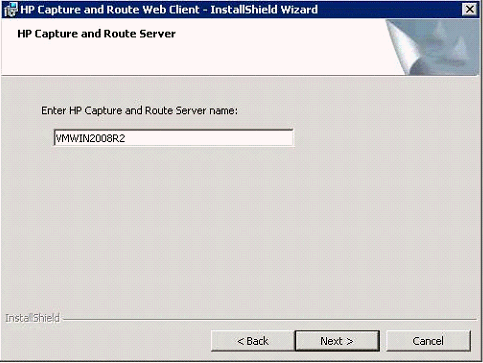
The setup prompts you to enter
the HP CR server name. If you are installing the client in a system which
has the HP CR server running, the name is filled in by default.

Click Next.
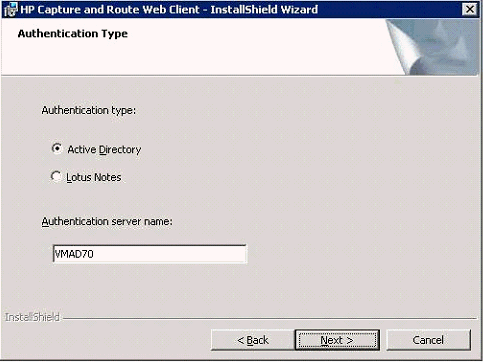
The setup prompts you to choose the authentication type and enter
the authentication server name.

Enter the authentication
server name, which is the Active Directory server name.
Click Next.
The setup shows the Ready to Install
the Program page.
Click Install.
The client is installed. The setup indicates when the installation
is complete.
To launch the End User Interface,
check the box beside the Launch the
program option.
Click Finish
to close the InstallShield
wizard.
When installation is complete, a web browser opens and
HP CR End User Interface is launched with a URL of http://webservername/WebClient.
Note: If you are configured to use a Secure Socket
Layer (SSL) connection, manually configure the End User Interface URL
to be https://webservername/WebClient.
Required DCOM permissions when installing on a remote system
When you install HP CR End User Interface on a remote system,
you must configure the following DCOM permissions on the HP CR server.
Without this configuration, the HP CR server cannot communicate with the
remote clients. For DCOM configuration instructions, see Configuring
required COM permissions for launching the remote End User Interface.


